
[DIY] Festival Ready Cut Off Shorts

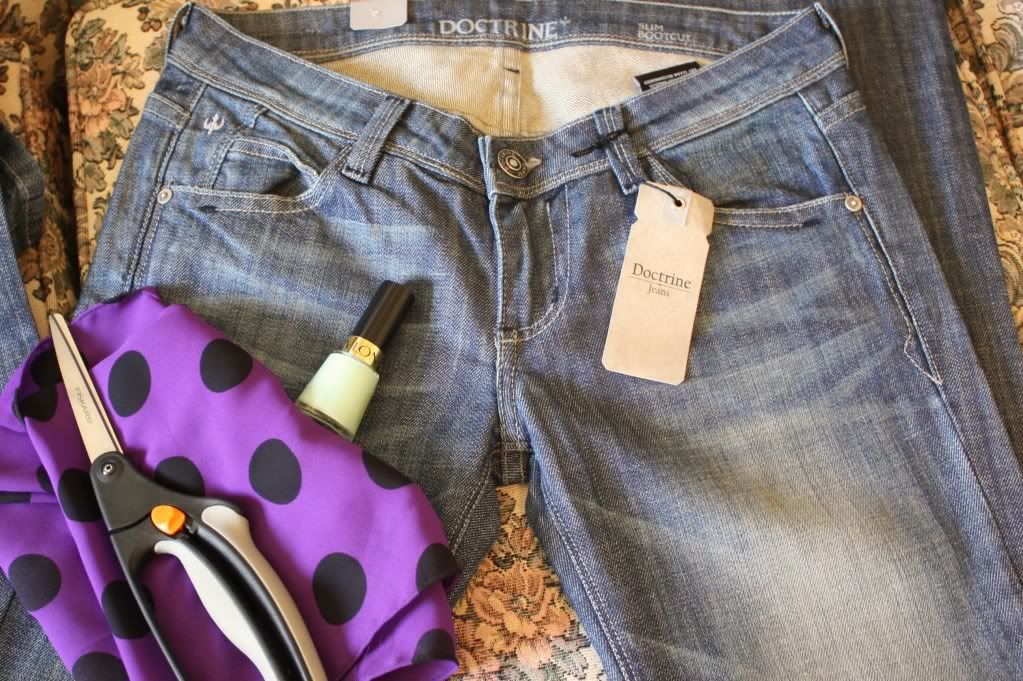
I have to be honest by saying that I rarely DIY (do it your self) because I never seem to get the desired results, or in other words my biggest problem is that I never finish my DIY projects. Therefore, I am very happy to share with you the FIRST ever DIY post on the blog. Festival season is pretty much here and this is why Doctrine Jeans put me to work by testing out my denim cut off DIY skills. With my pair of Doctrine Jeans, I decided to make a fun, minimal and daring pair of cut off shorts. I removed the belt loops, painted the metal hardware (the button and rivets) with a mint shade of nail polish and added my favorite print..... yep you guessed it polka dots.
 The Supplies:

- A Pair of pants you are willing to cut and destroy - Fabric scissors - Small scissors or a stitch remover tool - A fun fabric you want to add ( I like patterned fabric) - A fun shade of nail polish - A needle & thread or fabric glue (depending on fabric you use) Get To Work: How to make...
1) Start off by choosing a length for your new shorts. Try them on before determining the length, once you decide on the length you want, mark it. Take off the pants, lay them flat and draw a line where you want to cut off the pant leg. Cut off one pant leg, then simply fold over the leg you just cut off and use as guide to cut off the other pant leg to make sure they are both the same length.
2) Decide where you want to place the swatches of fabric. Once you have decided, use tracing paper or as I did, use regular white copy paper to make a pattern to use when cutting the fabric that you are adding to the shorts. I placed the piece of paper on top of the area of the short I wanted to cover with fabric and I simply traced the area with a pencil. Cut the pattern (the paper) and pin to the fabric when you are cutting it. Repeat the same step for the small swatch that will go inside of the pocket (this is if you want to add fabric to that area).
3) Depending on the type of fabric you are adding to the shorts, you will either have to hand sew the fabric on, or glue it on with fabric glue. If you are adding a thin fabric to your shorts then you will have to hand sew it on. If the fabric is a medium weight you might get away with using fabric glue. If the fabric you are adding is of a heavy weight then you will also have to hand sew it on. The polka dot fabric I chose to add to my shorts was a very light (almost sheer) fabric, so I had to hand sew it on otherwise, the glue would have been visible.
4) With the small scissors or with the stitch remover tool remove all of the belt loops (front and back)
5) This was my favorite part! With a fun nail polish shade of your choice, paint over all of the metal hardware ( the front button and the rivets). I used two coats of nail polish to make sure the color was bright.
6) Lastly, use the small scissors or the stitch remover to pull out threads from the edge of the shorts all around (for a fringe effect). Once you are done you can trim the loose threads to an even (or uneven) length of your choice.
 Get To Work: How to make...
The Finished Product: Fun polka dot cut off shorts

Finally, you can now wear and style your new shorts to your liking. I would love to wear my pair of
DIY shorts with an over sized white tee, a pair of minimal/modern flat sandals, or with an equally bold pair of wedges of platforms! What do you think of my DIY!? I have a fun little surprise for you, a Doctrine Jean giveaway, so that you can win your very own pair of Doctrine Jeans to DIY!
Make sure you check back for the full details.
xx
Ari


Comments
Looks great!
will do it for myself!
thanks for the great idea!
I love that you added the print for the inner pocket of one side and for the other you put the print on the leg part. :)
Oh and good idea of painting the metal hardware :D
-Eliza